Download and preparation
Now we download and decompress the files needed for the installation, to do so, we execute the following commands as root user:
apt-get update && apt-get -y upgrade
apt-get install -y unzip
cd /tmp
wget –no-check-certificate -O installer.tgz “https://github.com/servisys/ispconfig_setup/tarball/master”
tar zxvf installer.tgz
cd *ispconfig*
bash install.sh
Now you have a folder called servisys-ispconfig_setup-SOMETHING in your /tmp directory, SOMETHING will change in form of the version number you are using, but do not bother about that.
ISPConfig 3.1 Installation
Now it’s time to install our ISPConfig control panel with the autoinstall script. The script has two install modes: the standard mode and the expert mode.
The two modes are similar, the main difference is that in standard mode the ISPConfig installation is completely unattended, with the expert mode you can configure your ISPConfig for special environments like a multiserver setup, mirror or to select only some services to be configured.
In the standard setup the following components will be installed:
<![if !supportLists]>· <![endif]>Web Server (Apache or Nginx)
<![if !supportLists]>· <![endif]>FTP server (with pureftpd)
<![if !supportLists]>· <![endif]>DNS Server (bind9)
<![if !supportLists]>· <![endif]>MySQL server as database server
<![if !supportLists]>· <![endif]>Awstats for statistics purpose
<![if !supportLists]>· <![endif]>Clamavd for antivirus
<![if !supportLists]>· <![endif]>Let’s encrypt for certificate generation
<![if !supportLists]>· <![endif]>IMAP and POP3 (with courier or dovecot)
<![if !supportLists]>· <![endif]>webmail (with RoundCube or squirellmail)
<![if !supportLists]>· <![endif]>… and obviously ISPConfig
Let’s start with the common commands for both modes, then we follow the install process from both modes.
At this point, the process should already be started, we can see the following output
Welcome to ISPConfig Setup Script v.2.2.1
This software is developed by Temporini Matteo
with the support of the community.
You can visit my website at the followings URLS
www.servisys.it www.temporini.net
and contact me with the following information
contact email/hangout: [email protected]
skype: matteo.temporini
=========================================
ISPConfig 3 System installer
=========================================
This script will do a nearly unattended intallation of
all software needed to run ISPConfig 3.
When this script starts running, it’ll keep going all the way
So before you continue, please make sure the following checklist is ok:
– This is a clean standard clean installation for supported systems
– Internet connection is working properly
The detected Linux Distribution is: Ubuntu 16.04.1 LTS
Is this correct? (y/n)
At this point, the installation process checks your distribution to detect if the installed OS is compatible with the script, in my case, it will detect Ubuntu 16.04.1 LTS.
If it’s correct for you press ‘y’, and now you’ll be asked some question before the automated install process will start. If you don’t know the answer to a question then choose the default by just hitting enter.
<![if !supportLists]>· <![endif]>You will be asked for the Mysql version: Mysql o Mariadb
<![if !supportLists]>· <![endif]>You will be asked for the MySql password
<![if !supportLists]>· <![endif]>Next, you have to choose between Apache and Nginx
<![if !supportLists]>· <![endif]>Next, you will be asked for Xcache (compression system for PHP)
<![if !supportLists]>· <![endif]>Next, you will be asked for the PHPMyAdmin installation
<![if !supportLists]>· <![endif]>Next, you have to choose between mail server type dovecot or courier
<![if !supportLists]>· <![endif]>Next, you have to choose to update virus definition (recommend to say yes)
<![if !supportLists]>· <![endif]>Next, you have to choose to enable or not quota (recommend to say yes)
<![if !supportLists]>· <![endif]>The last thing at this chapter is standard or expert mode installation
Standard mode
So we choose standard mode installation, the fastest and most easy way to install ISPConfig in a single server setup with all features enabled.
In case that you don’t know what to respond to a question, simply hit enter, the defaults are good in most cases.
<![if !supportLists]>· <![endif]>Next you have to choose to install Jailkit (attention: Jailkit as normal installation, could only be installed now)
<![if !supportLists]>· <![endif]>Next you have to write data for you SSL certificate for ispconfig: Country, State, Locality, Organization, Organization Unit
<![if !supportLists]>· <![endif]>Next you’ll be asked for SSL Configuration: Country, STATE, Locality, Organization, Organization Unit
Now you can go to take a coffee and relax, waiting for the install process to finish.
When everything is installed you can see something similar on the console:
Checking internet connection… OK
Installing pre-required packages
whiptail found: OK
Updating apt and upgrading currently installed packages… [DONE]
Installing basic packages…
Lettura elenco dei pacchetti…
Generazione albero delle dipendenze…
Lettura informazioni sullo stato…
Il pacchetto “apparmor-utils” non è installato e quindi non è stato rimosso
I seguenti pacchetti saranno RIMOSSI:
apparmor liblxc1 lxc-common lxd snapd ubuntu-core-launcher
0 aggiornati, 0 installati, 6 da rimuovere e 0 non aggiornati.
Dopo quest’operazione, verranno liberati 53,5 MB di spazio su disco.
(Lettura del database… 91867 file e directory attualmente installati.) (Lettura del database…
Rimozione di snapd (2.15.2ubuntu1)…
Warning: Stopping snapd.service, but it can still be activated by:
snapd.socket
Rimozione di ubuntu-core-launcher (1.0.27.1)…
Rimozione di lxd (2.0.4-0ubuntu1~ubuntu16.04.1)…
Warning: Stopping lxd.service, but it can still be activated by:
lxd.socket
Rimozione di lxc-common (2.0.4-0ubuntu1~ubuntu16.04.2)…
Rimozione di apparmor (2.10.95-0ubuntu2.2)…
Rimozione di liblxc1 (2.0.4-0ubuntu1~ubuntu16.04.2)…
Elaborazione dei trigger per man-db (2.7.5-1)…
Elaborazione dei trigger per libc-bin (2.23-0ubuntu3)…
Reconfigure dash… [DONE]
Installing MySQL… [DONE]
Installing Apache and Modules… [DONE]
Installing PHP and Modules… [DONE]
Installing needed Programs for PHP and Apache… [DONE]
===========================================================================================
Attention: When asked ‘Configure database for phpmyadmin with dbconfig-common?’ select ‘NO’
Due to a bug in dbconfig-common, this can’t be automated.
===========================================================================================
Press ENTER to continue…
Due to a bug in dbconfig-common we can’t automate the PHPMyAdmin installation for now. Hit ‘enter’ and on the next question select ‘NO’ (attention because the default is ‘YES’).
One last question, is required to complete the installation.
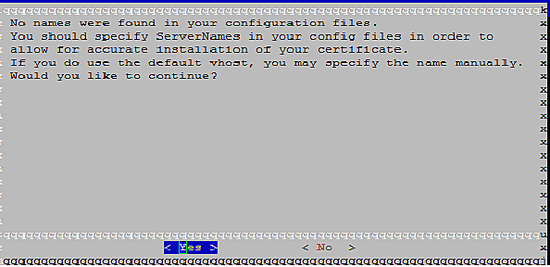
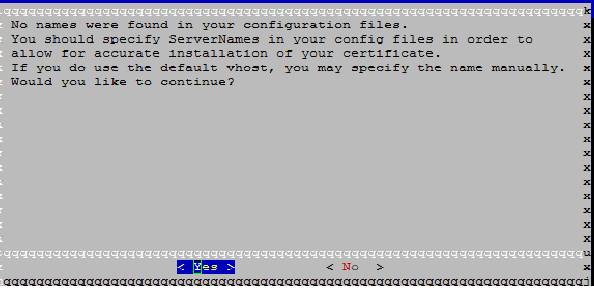
As a new feature in ispconfig, native support for Let’s encrypt as been introduced, wich allows you to create SSL certificate completely free and supported from all major browser.
To complete the installation of the script certbot you will be prompted with this warning message:
Elaborazione dei trigger per libc-bin (2.23-0ubuntu3)…
===========================================================================================
Attention: answer no to next Question Dialog
===========================================================================================
Press ENTER to continue…
After hit “enter” and waiting for some package to be installed you’ll be asked for
Here select “no”.
After some time the Ispconfig 3.1 will start install and ask for Mysql Port and Admin password.
You can both times hit enter, or change if you want. In future ispconfig releases, this question will be removed so you can skip this questions.
Expert mode
The only difference with the standard mode is the ISPconfig installation script, that is not automated yet and has to be run manually. As mentioned before, this is necessary for multiserver setups, single server setups that run just some services and cluster setups.
For detailed installation process of ISPConfig, you can refer to the following article https://www.howtoforge.com/tutorial/perfect-server-debian-8-jessie-apache-bind-dovecot-ispconfig-3/3/
Multiserver and cluster setup considerations
This kind of configuration has been implemented in this script, but for now, they are working only for Debian 8, and no other distributions.
For installation and use you need to have two server,s from where to run this script.
Final consideration
After everything is installed, you can check for errors or strange things with the command
cat /var/log/ispconfig_setup.log
As the script is in constant development any help or suggestion will be appreciated, you can follow us on GitHub at the url https://github.com/servisys/ispconfig_setup, or contact us on ISPconfig forum.
Share this page:
RESET Admin Password:
If you lost your ISPConfig 3 administrator password, you can reset it with the following SQL query.
UPDATE sys_user SET passwort = md5(‘admin’) WHERE username = ‘admin’;
IF THIS COMMAND DONT WORK BY COPYING , TYPE OUT INSTEAD OF COPYING
If the above command don’t work try the following:
The SQL query sets the password to “admin” for the user “admin”, it has to be executed in the ISPConfig mysql database, e.g. with phpmyadmin. If you dont have phpmyadmin installed, then the query can be executed with the mysql commandline utility as well:
Login to the mysql database.
mysql -u root -p
Then enter the password of the mysql root user. To switch to the ISPConfig database, run this command:
use dbispconfig;
And execute the SQL command:
UPDATE sys_user SET passwort = md5(‘admin’) WHERE username = ‘admin’;
Finally close the mysql shell:
quit;
Comments are closed